Thursday, October 28, 2010

rock rails!

So- how do you try to save some aluminum  (and that gray gas tank that is exposed)?  Simple- put some steel in the way.
The last set of rails I made for the full size bronco came in at 55lb per side.  That's ok for that lumbering beast with a 460CI.  weight doesn't matter.
 For 77 hp (peak) (on a good day) I chose to go lighter.  I used 10 GA ?? tubing, trimmed and welded it to match the stock lower panels
and then set out to mount it.  Other owners used the bulkhead bolt and ran chassis stiffeners or added outriggers.
Mine got a thick piece of bar steel that ran the length of the lower door sill ,and just a little wider,  welded to the rail then angle iron welded to the underside of it and to the rail.  The original sill mounting plates hold the rear of the rail, and the bulkhead bolt went through a piece of c-channel to hold the front.
  It looked like it would work, but for a little extra oomph a piece of 1/4" angle iron was welded under the rail and chamfered. If itbreaks,something went really wrong!
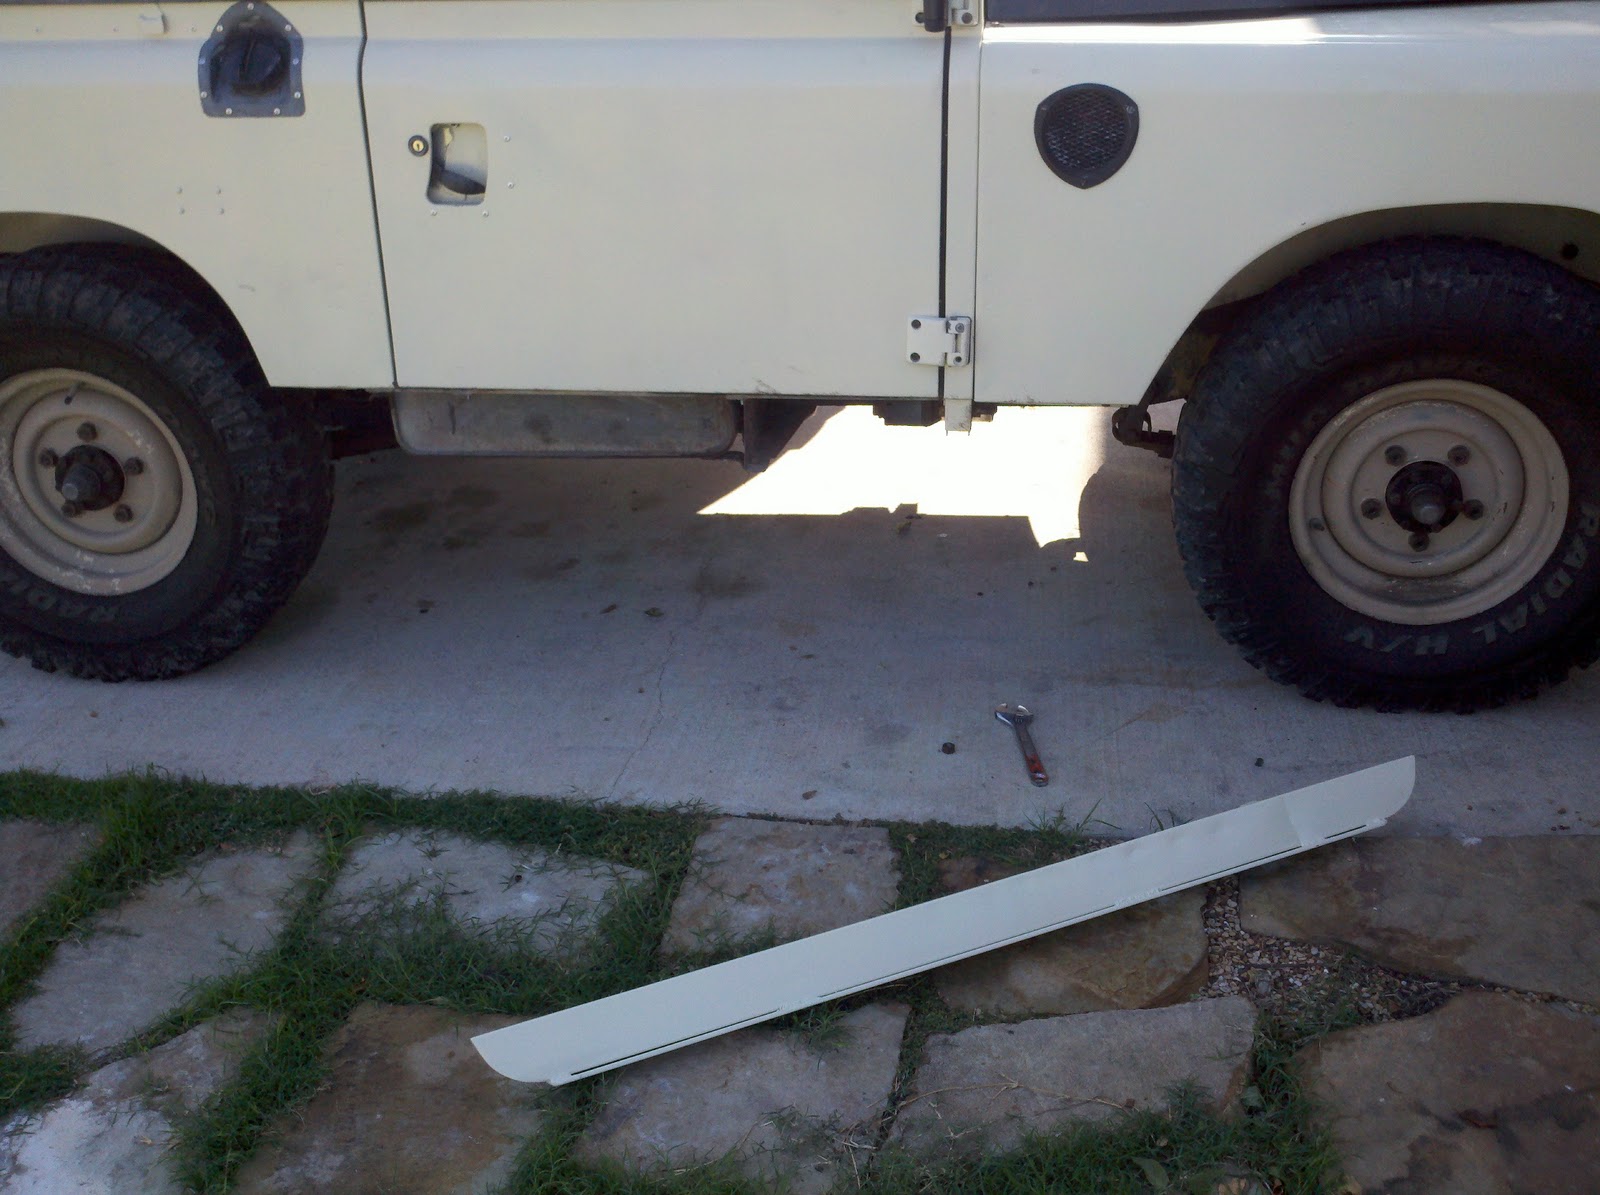
before:

after :)


 It works!
It wanted to go higher- but started rolling fore and aft thanks to open pumpkins. 
 I had to jump up and down on the front bumper to flatten the vehicle down after this!

Wednesday, October 13, 2010

My rover is into leather....

This here's the new pinion seal -poised and ready to stop the gl-4 from pouring out.  This is supposed to be a 1/2 hour job with everything going right- well that didn't happen.

Here's the  old seal- and thats one dead cow!  It's a leather ring stuck in a metal sleeve.  This harkens back to the days of leather head gaskets and non greedy oil companies. 


OK- so the drive flange was pitted at the seal - REALLY BAD.  I did this on the front swivels and it worked- why not the flange??  So the pits were sprayed with dupli color ceramic engine paint, and after that dried it was sanded down smooth with 1000 grit sandpaper. It took out 95% of the pits

Friday, October 8, 2010

Way better!

The hole from the DSPO was cured with some aluminum rivets and thick aluminum plating. It was strong enough that with a LOT of weight pushing down on it there wasn't any signs of popping out. Again all surfaces were sanded & xyloled.
The other little screw holes filled in with the herculiner by themselves, but a couple of 1/4" holes had to be taped from the bottom to keep from draining thru to the underside! *Use a big fan when applying this stuff in an enclosed area to reduce the odors unless you have brain cells to spare.*
Heres the finished product:
To the left:
To the right:
and the rest:
I can say that except for gearwhine the vehicle is much more liveable and has less drumming going down the road.