Friday, May 14, 2010

Running out of parts

You can see the color difference btwn the original paint and the new over the wheel well I had to degrease it before sanding and painting.

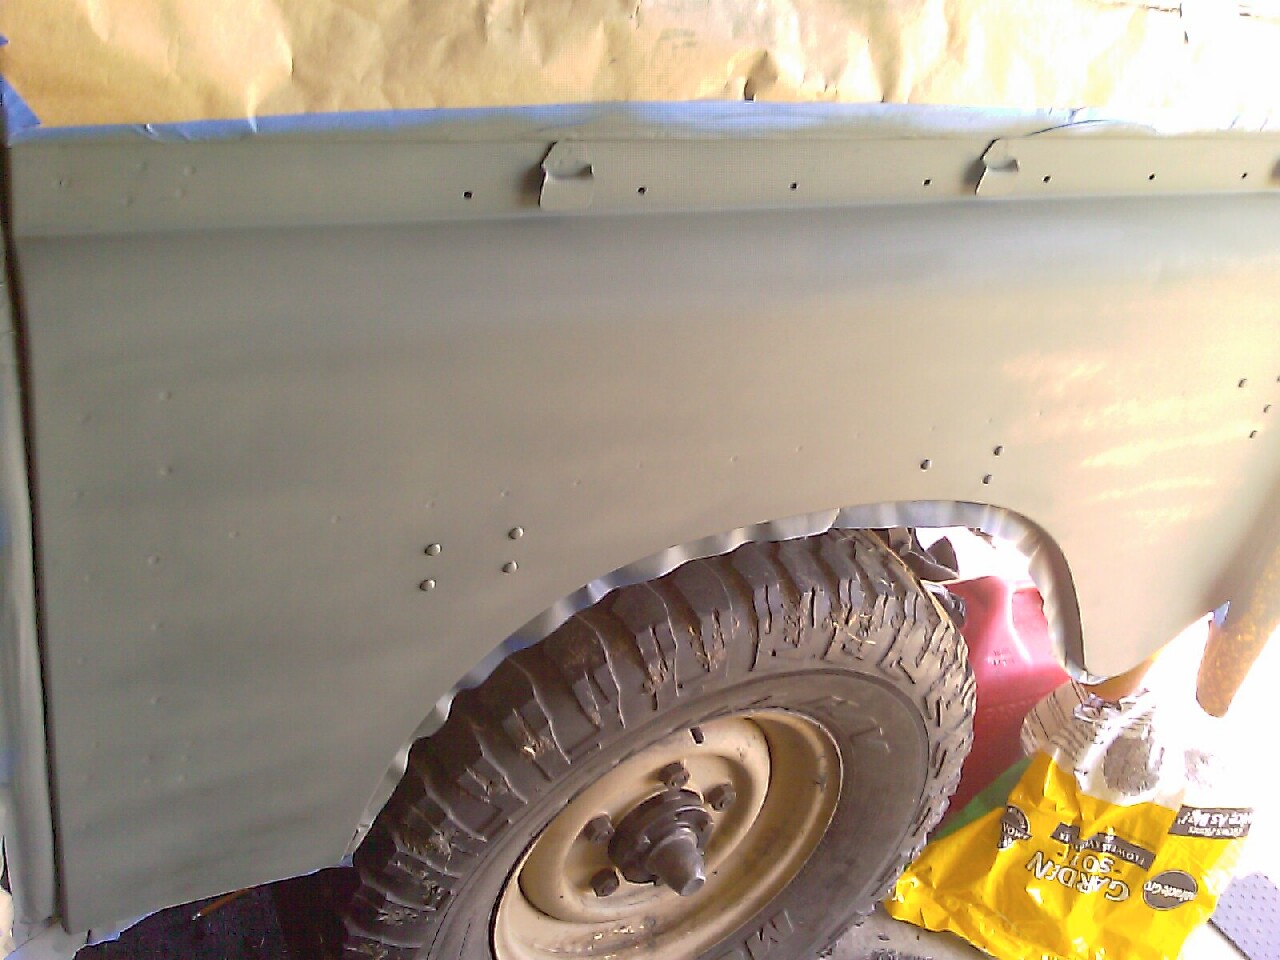
This is the inner fender/ splash shield. while attached, it caught all sorts of oily dirt, dropped nuts, screws and electrical parts between it and the bulkhead "firewall"

With out this piece the fender would buckle if you tried to stand on it since it supports from the firewall to the inner top of the fender. Its ugly, but there is no rust.

The bulkhead mounting location for the inner shield. Thanks to the undercarriage oiling system that Rovers have (i.e. oil drips) the oily dirt preserved this side wonderfully.

its hard to make out, thats the blower and heater core thats right above it.
I've ordered a few more gadgets , should be here next week.

Tuesday, April 20, 2010

paint archaeology

I have found several strange paint types.
The picture ad the previous owner gave me with the rover showed a dark rover. It looked like camo paint in a bad picture.
From what I can figure the hunting camp painted the original paint with a cheap black, and the owner before me did the camo work on the drivers side and back.

This was under the black paint. Note inside the rectangle. I wonder what this thing advertised earlier in life? It was loved once. This was original paint with a fine layer of black over it.


Fooled me...I thought it was the original paint coming out from under the black. This however was an attempt to paint OVER the black paint that was over the original limestone. Yep- three layers. After trying to wet sand off the black I noticed the black made a ring with to extremely similar colors of limestone on each side


Luckily it is only on the right rear fender because it fouls the sandpaper quickly.

After this, painting should be a breeze. The rest of the new paint looks like semi-cared for old paint.

I think the hood "bonnet" will be a low gloss or flat black.

Wednesday, April 14, 2010

I love the smell of paint in the morning.

The previous "camo" paintjob came off relatively easy with a palm sander and 150 grit REGULAR sandpaper.

After base sanding I went back with a smaller piece of sandpaper over a foam sanding block to smooth out what I could. Then hand sanded around rivets and in creases.
Xylene was used to wipe the metal clean before priming.

Acid etching primer was used to get a good grip on the metal. This was wet sanded with 500 grit then 1000 grit to smooth it out as much as possible.

This picture is a little too small for any detail, but you get the just of it.